
The 5 Step Process
We’re Proud To Share Our Five-Step Installation Process

STEP 1
Professional concrete surface preparation is crucial. We use an industrial-grade 800-pound, 30" diameter diamond grinder connected to a HEPA vacuum system. This opens the pores, ensuring a strong adhesive bond for our coating system while minimizing dust and preserving air quality. Diamond hand grinders are used for hard-to-reach areas. Without this preparation, coatings will fail. Unlike big box store epoxy flooring, our work and product last 15 year lifespan without annual repairs or replacements.

STEP 2
We meticulously address cracks in the concrete by grinding them out and applying a crack repair mender. This mender is exceptionally strong, ten times more durable than concrete, and cures rapidly. Afterward, we grind any remaining mender to achieve a flawless and smooth finish. We proudly refer to this process as "the magic is in the mender."

STEP 3
After thoroughly vacuuming the floor, we apply a solid-colored polyurea base coat. This creates a strong foundation for the subsequent layers, ensuring durability and a high-quality finish.

STEP 4
We enhance the flooring by broadcasting vinyl chip flakes for full coverage, creating a visually stunning and unique design. This layer is not purely decorative; it also adds over a hundred pounds of vinyl flake, providing additional floor protection.
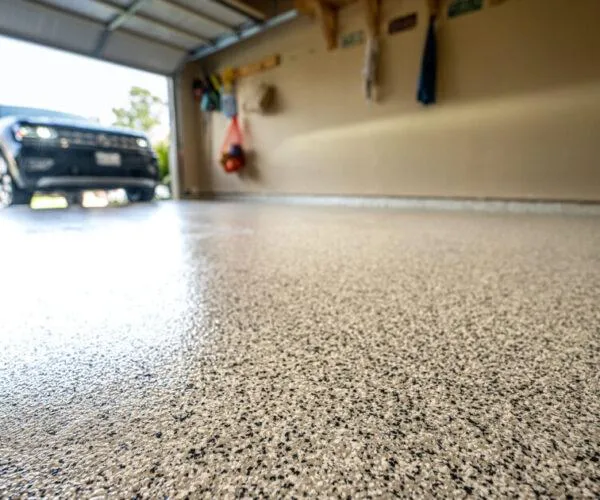
STEP 5
We apply an industrial strength polyaspartic top coat to enhance the floor’s durability and longevity. This surpasses epoxy in strength, offering resistance to chemicals and heat. The easy-to-clean nature ensures effortless maintenance, and with non-slip properties, safety is prioritized
Schedule a Free Consult for a Quote
Let’s talk about your garage remodel project.
QUICK LINKS
SERVICES
FOLLOW
© Classic Concrete Coatings | Privacy Policy